I got one of those RGB LED matrix things for my birthday and wasn’t sure what to do with it. Then I found this awesome library which has Python bindings and can control it nicely even from a Raspberry Pi. Conveniently I had a spare Raspberry Pi 1 B+ sitting around so I hooked it up. After playing around for a while, I got the demos working.
UPDATE: Full documentation of infopanel is now available.
But I needed to connect it to home-assistant to really make it valuable to myself. So I wrote a little program called Infopanel (available for free on github) that lets you do some things:
- Get data directly from a MQTT broker for getting live data (e.g. travel times in traffic, weather conditions) and for command and control. This allows me to connect the screen to my home-assistant home automation system.
- Assemble various built-in elements like giraffes, animated text, rainbow text, pictures, animated gifs into various scenes that rotate through on the screen to display the information in various fun and/or useful ways.
- There are Temperature and Duration sprites that you can define high and low values of so they’re red when they’re bad and green when they’re good, and anywhere in between.
You can set the scenes to be just random or you can control them through MQTT.
It’s intended to be very configurable but since it’s brand new some extra development is needed to make everything perfect. Send in your ideas and requests and code changes!
A relatively complete example configuration file is in the repo. That demonstrates using MQTT, connecting MQTT topics to various sprites, building your own frames of animation by hand, and adding in gifs and images from file paths. Note that you have to set an environmental variable or two to get the fonts right and whatnot.
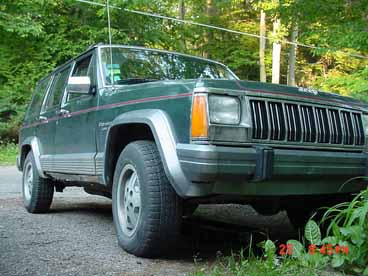 My car: