This is a legacy post, written originally in 2005.
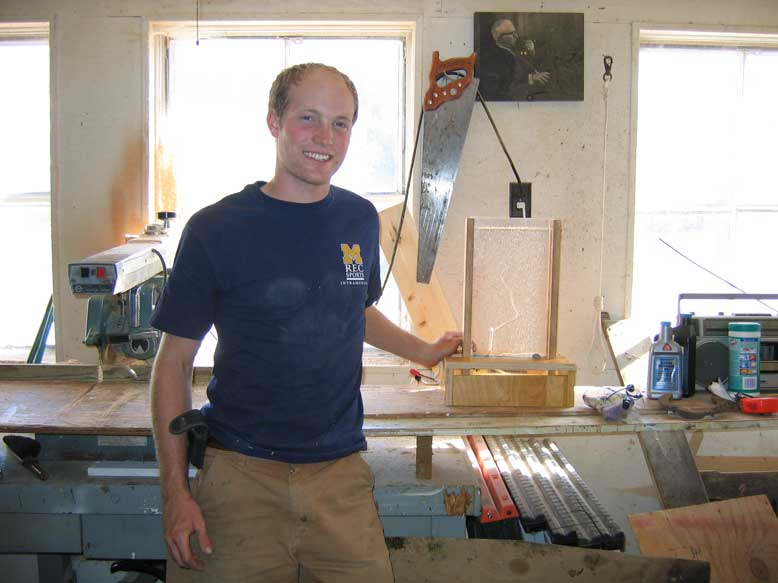
I, Nick Touran, built a bubble wall. You can build one yourself if you want. You can follow my example.
What is a bubble wall?
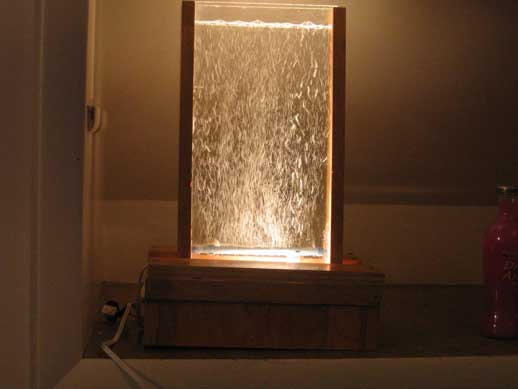
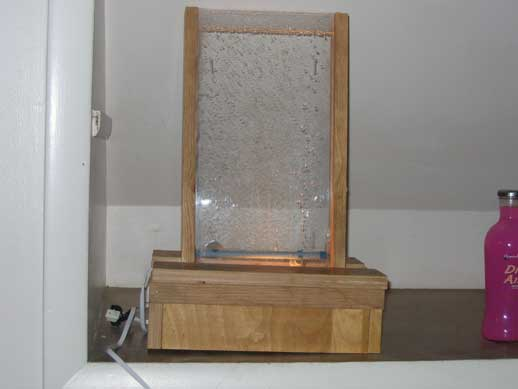
Basically, a bubble wall is a thin, clear wall of any size that is filled with water. Bubbles rise up throughout the entire wall and are lit up. It is basically an inch thick empty bubbling fish tank. I saw a 6-foot tall one in Las Vegas for $2,500 and decided I would just make my own. Mine will be a little smaller so that I can transport it.
What is my plan?
Well, over the summer of 2005, I plan on making this thing. I’m going to make it out of 2 24×48 inch sheets of acrylite. It is extremely clear and does not break nearly as easily as glass does. I’m going to do this for cheap, so don’t expect any inch thick walls. They will be more like 1/8 inches thick. Anyway, the plan is to buy a bubble curtain maker made for fishtanks and a very quiet fish tank air blower. I will mount the bubble maker in the bottom of the tank. I will make a hardwood top and base for the bubbler also. Inside the base will be a 24″ fluorescent light fixture to provide lighting. The top will just be for looks. There will be individual switches to turn the bubbles and the light. I was thinking of getting some sort of luminescent dye and a blacklight, but I think I’ll just try regular water first.
Costs estimates
After some preliminary research, it looks like the sides are going to cost me about $30 bucks. The wood for the base and top will be a good $15 bucks at least unless I can find some around camp. The pump will be about $15 and the bubble maker will be about say….$7.00. Tubing will be $3.00 and the fluorescent light will run me about $12. I’ll use adhesive from camp. I guess that puts me at $82 bucks. Hmm, whoa. That’s a little more than expected but hey, I gotta spend money on something. Besides, I just earned almost that much sitting here at the Alumni center doing homework. UPDATE: I got the tubing, bubble wall, and pump all for cheaper than expected! new final cost estimate: $73.50. No big deal. I spend that on groceries!
Time frame
I will get this thing started once the flux capacitor is installed and working. I’ll probably be picking up the acrylic and stuff near the end of May. If that happens, expect this thing to be done by mid-June, assuming I don’t have to order anything.
UPDATES:
1-3-06 – The fluorescent light stopped working probably because of a finite leakage factor. I just got a new light. It’s a little halogen and it works just as well. I also put a layer of clear wrap in between the bubble wall and the light. We’ll see how it goes. The wiring was much easier for this little light.
8-30-05 – Ok I made the stupid thing. I got it sealed off FINALLY after struggling for hours. 1/8″ is too thin for a bubble wall. If I was using 1/4 I think the Weld-On could do the adhesion and sealing all at once but with 1/8″, it’s just not easy. Then I whipped together a base out of plywood in 5 minutes so it looks horrible. However, the thing is pretty cool anyway.
8-2-2005 – Well, I’m partially aborting the bubble wall project! Yes, it’s true. I realize now that 1/8 inch plexiglass will not work with a 4 foot tall bubble wall. There is too much water pressure. The sides bow out and the seals break and everything. I could put cross-pieces around it but I’m not going to. To make a good, tall, real bubble wall you’re going to need at least 1/4 or 3/8 inch thick plexiglass and a really powerful compact compressor. Those parts alone could cost you around $400. I’m not even thinking about laying that kind of cash for a stupid bubble wall. My little aquarium compressor cannot bubble under four feet of water. Don’t worry though, I’m going to try to make a mini version. A desktop bubble wall if you will. Stay tuned.
7-22-2005 – Ok so I’ve been slacking. But I have the plexiglass cut and the wood borders are all set to go. I’ll get pictures up so you know what I’m doing. I first used just silicone to put it together but it leaked! So I ordered in something called Weld-On 4 and am using a syringe to apply it. It melts plexiglass and holds it stronger than you can imagine. I’ll have the tank assembed next week! I think I’ll start working on the base today. I have the flourescent fixture also. Oh and btw, I got the plexiglass from the dumpster for FREE! So now the cost is like, 20 bucks. It has some scratches in it but this is my trial bubble wall. It will still be cool. trust me!
4-8-2005 – I ordered and received some of the innards of this bad boy the other day. I was just surfing online for prices of air pumps and stuff and I came across this one place that just had good prices for everything. Here’s what I got:
- 25-ft. Airline tubing: $2.77
- Check valve: $1.64 to keep water out of the pump
- AirTech 2K3 air pump: $7.48
- 3-gang valve: $2.99 to adjust bubble rate
- Bubble wall 18-inch: $6.29 to make the bubbles
I hooked the bubble wall up in my bathtub to see if it made enough bubbles. I think it’ll be good. The bubbles are small, but I think they’ll do. We shall see. So now all I need is the fluorescent light, the acrylic, and maybe some hardwood. But don’t worry, I’m still planning on finishing the flux capacitor project before I really get this one going.