Alright, this is an oldie, but ah… well… it’s and oldie where I come from. In 2005, I had some healthy spare time and decided to build a flux capacitor. I posted the details on my old webpage. I just rewired a battery pack on it and it’s working fine so I figured it was time to get it back online again. So, here it is. How to build a LED flux capacitor.
The Concept
In the movie Back to the Future, Dr. “Doc” Emmett Brown completed his life goal of making the flux capacitor a reality. Here’s the story:
“I was standing on the edge of the toilet hanging a clock, the porcelain was wet, I slipped, hit my head on the edge of the sink — and when I came to I had a revelation! A vision! A picture in my head! A picture of this! This is what makes time travel possible! The Flux Capacitor.”
-Doc, Back to the Future
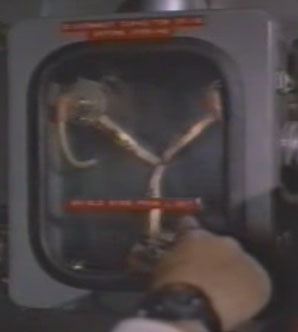
Unfortunately, I didn’t have room for the time circuits or nuclear reactor to generate the 1.21 jigawatts that the flux capacitor needs to travel in time so we’re going to have to go with the next best thing: A 30 LED sequencer!
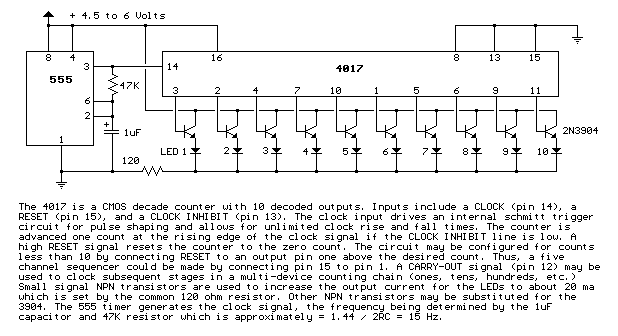
The circuit needed is a very simple decade counter. Actually it’s 3 decade counters all hooked up to the same 555 timer circuit. Here’s the schematic for one decade counter:
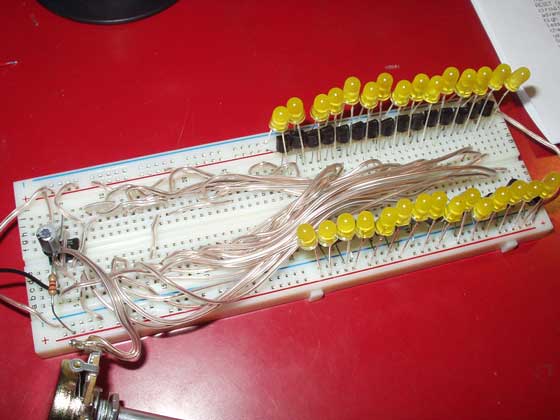
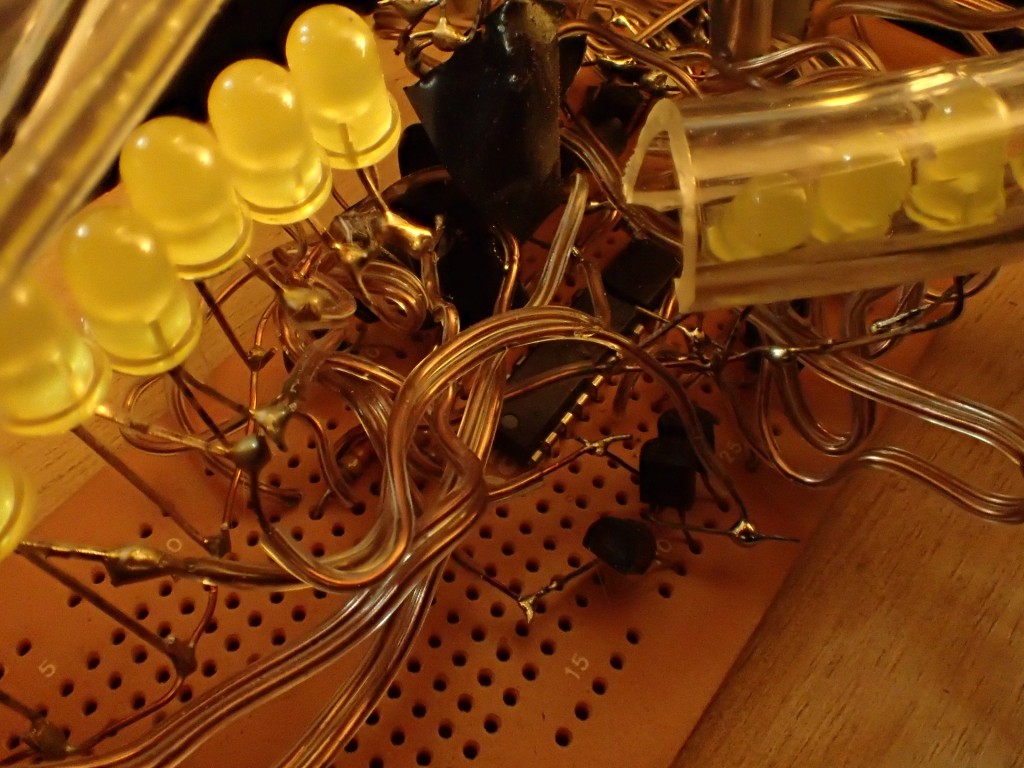
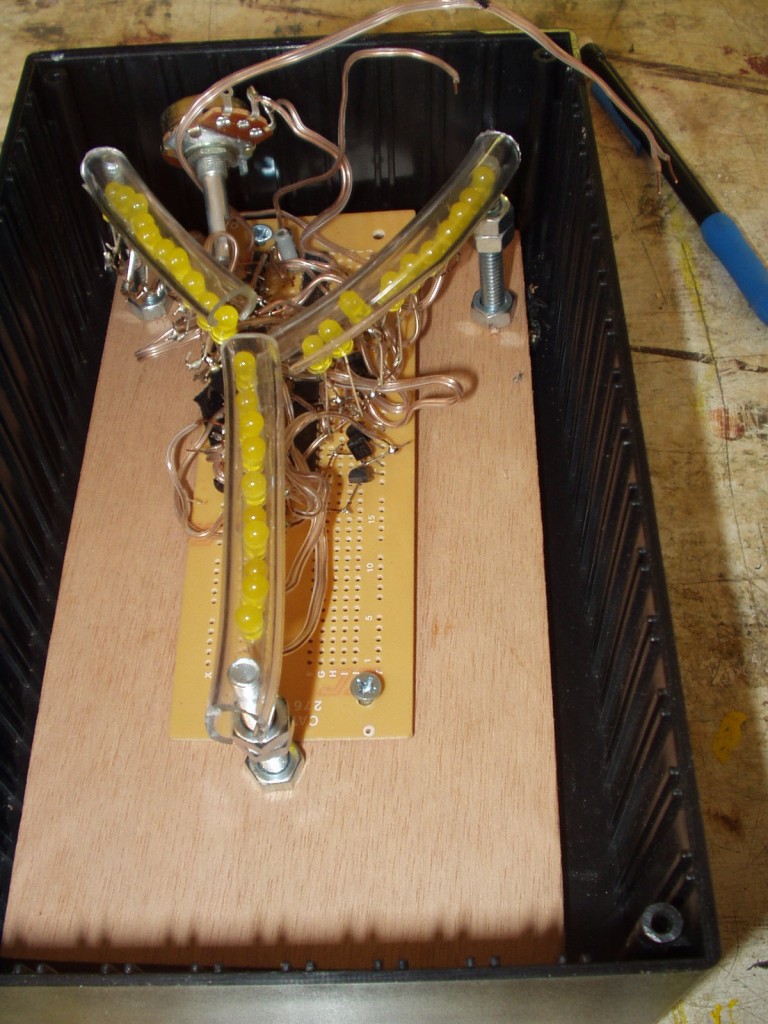
Then I wired it up on an actual board, soldered it in, put it in a little enclosure and glued some plexiglass over it.
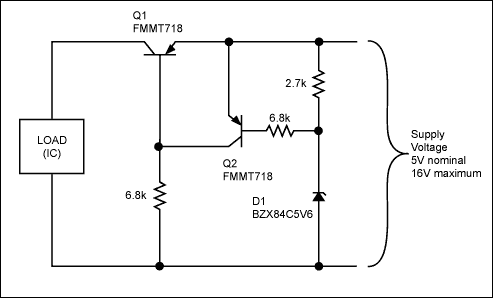
I wanted to limit input to 5V so I made a little voltage regulator for the car. It worked great.
And then put it in my car.
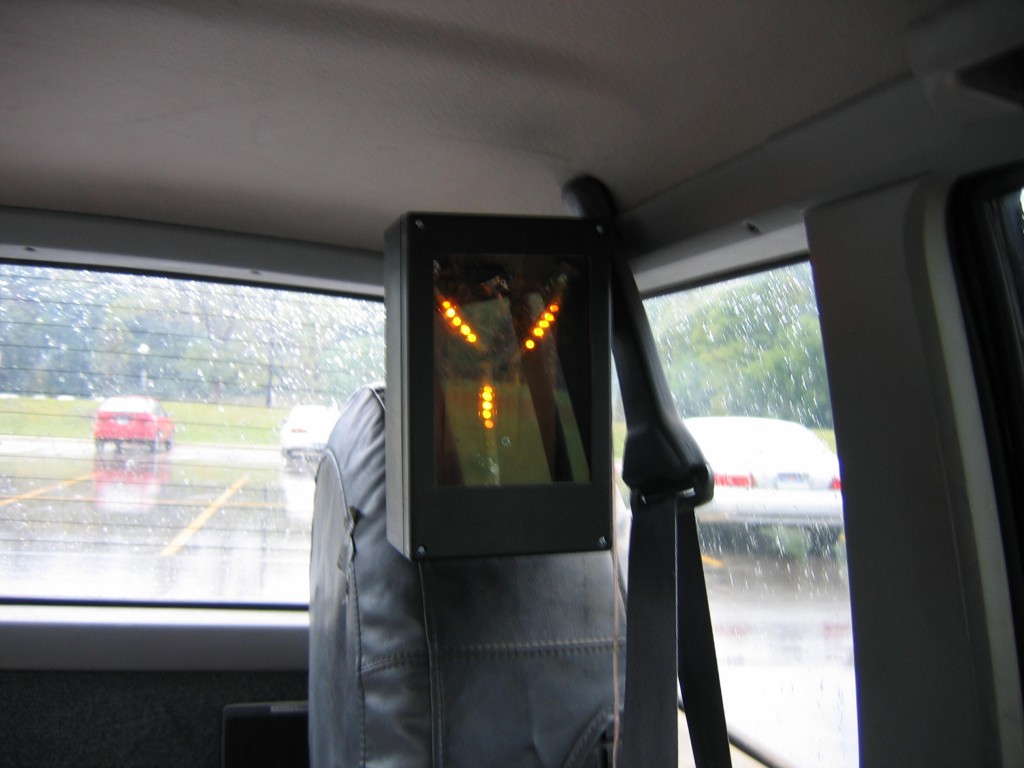
This was a lot of fun. Later when the car got vandalized to death, the flux capacitor came out and is now on my windowsill powered by 3 AA batteries. It’s still going strong! Great Scot!
2 thoughts on “My old flux capacitor project”