I got my first motorcycle, a 1997 Suzuki GS500, in 2007. It was great for a long time. I cut my motorcycle maintenance teeth on it, starting with gas line issues, shim adjustments, and an oil leak fix. Things escalated to taking the pistons out and head off to get the top-end rebuilt. Issues kept popping up more frequently than I liked so I sold it in 2012 and got a brand new Suzuki DL650A V-Strom ABS (aka “Glee”), feeling like I had had enough maintenance for a while. I only felt a little shame when I took it in to the shop for some routine maintenance
Well…I guess I’m back in the routine. After I totaled it but kept it, I got warmed up doing basic maintenance stuff on it. So when an issue came up recently, I decided to fix it myself.
UPDATE Jan 2017: Whaddaya know? The stator was just recalled due to a tendancy for this to happen.
Trouble a-brewing
As I rolled into work roughly 2 weeks ago, I noticed the ABS light was erratically blinking on and off. Uh oh, I thought. That’s never happened before. When I started it up that evening, it barely started, like the battery was weak. As I went along, the lights kept getting dimmer and dimmer. I stopped half-way to get gas and it didn’t turn back on at all; totally dead. Even the dashboard wouldn’t turn on. With a jumpstart, things lit up just fine and I was on the road. “Oh your battery’s bad,” the guy said. I guess that might make sense if somehow it was so bad that the charging system just can’t keep up at all. As I pulled into my garage, the bike just died hard. Totally dead again. I got lucky to get home.
Research
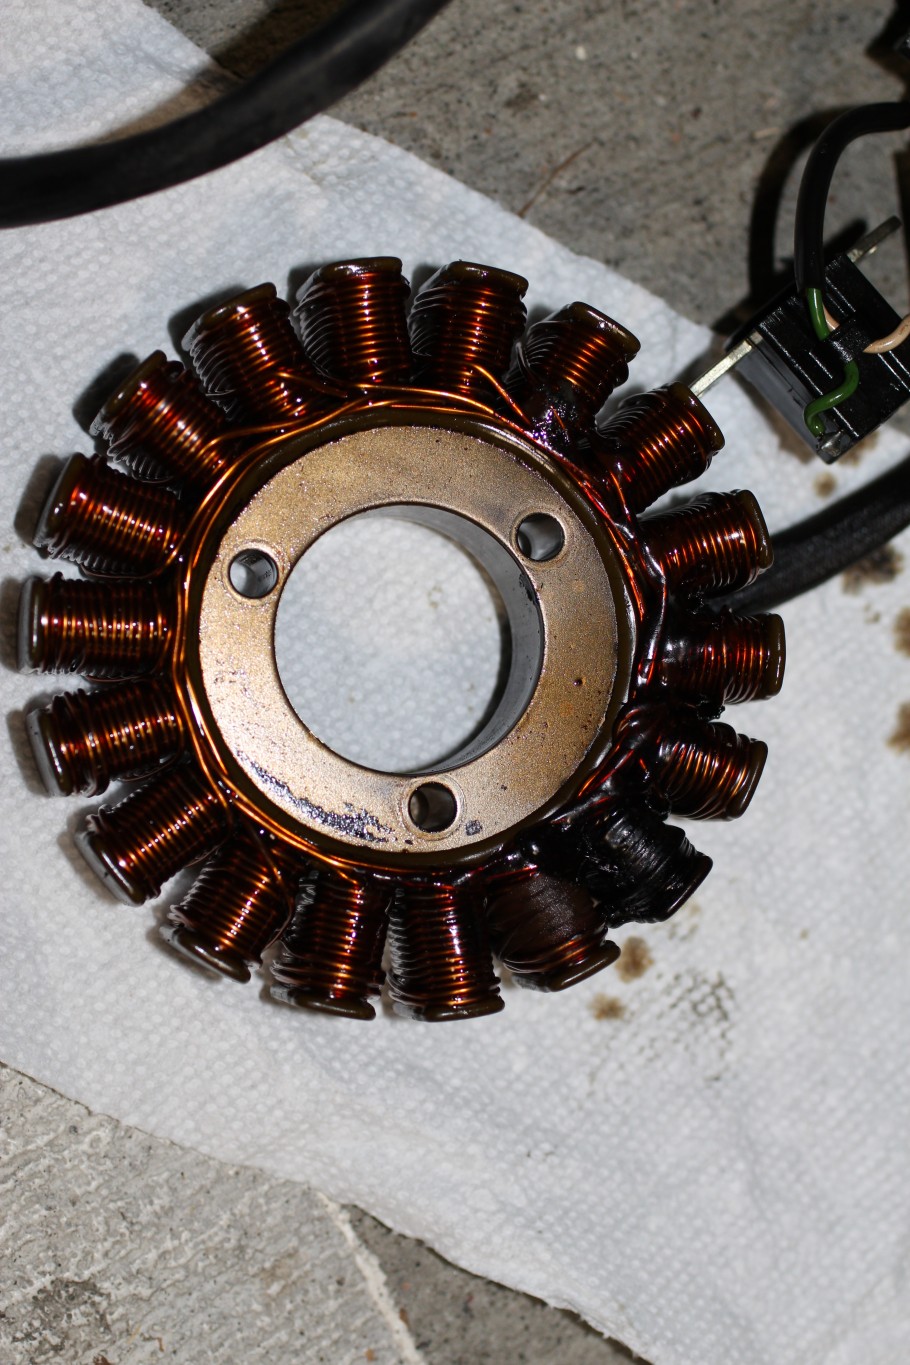
So I went to the internet. As it turns out, V-stroms often burn out their stator coils (the generator) around 20k miles. I have just over 18k. When you replace the stator, people often replace the regulator/rectifier (R/R) too. And, from various posts, it sounded like an after-market series regulator can help prevent the problem from re-occurring in another 20k miles.
- A good series type regulator post
- Learning about series type regulators as a way to prevent stator burn-out
- A guy who put on the series type regulator/rectifier
Diagnostics
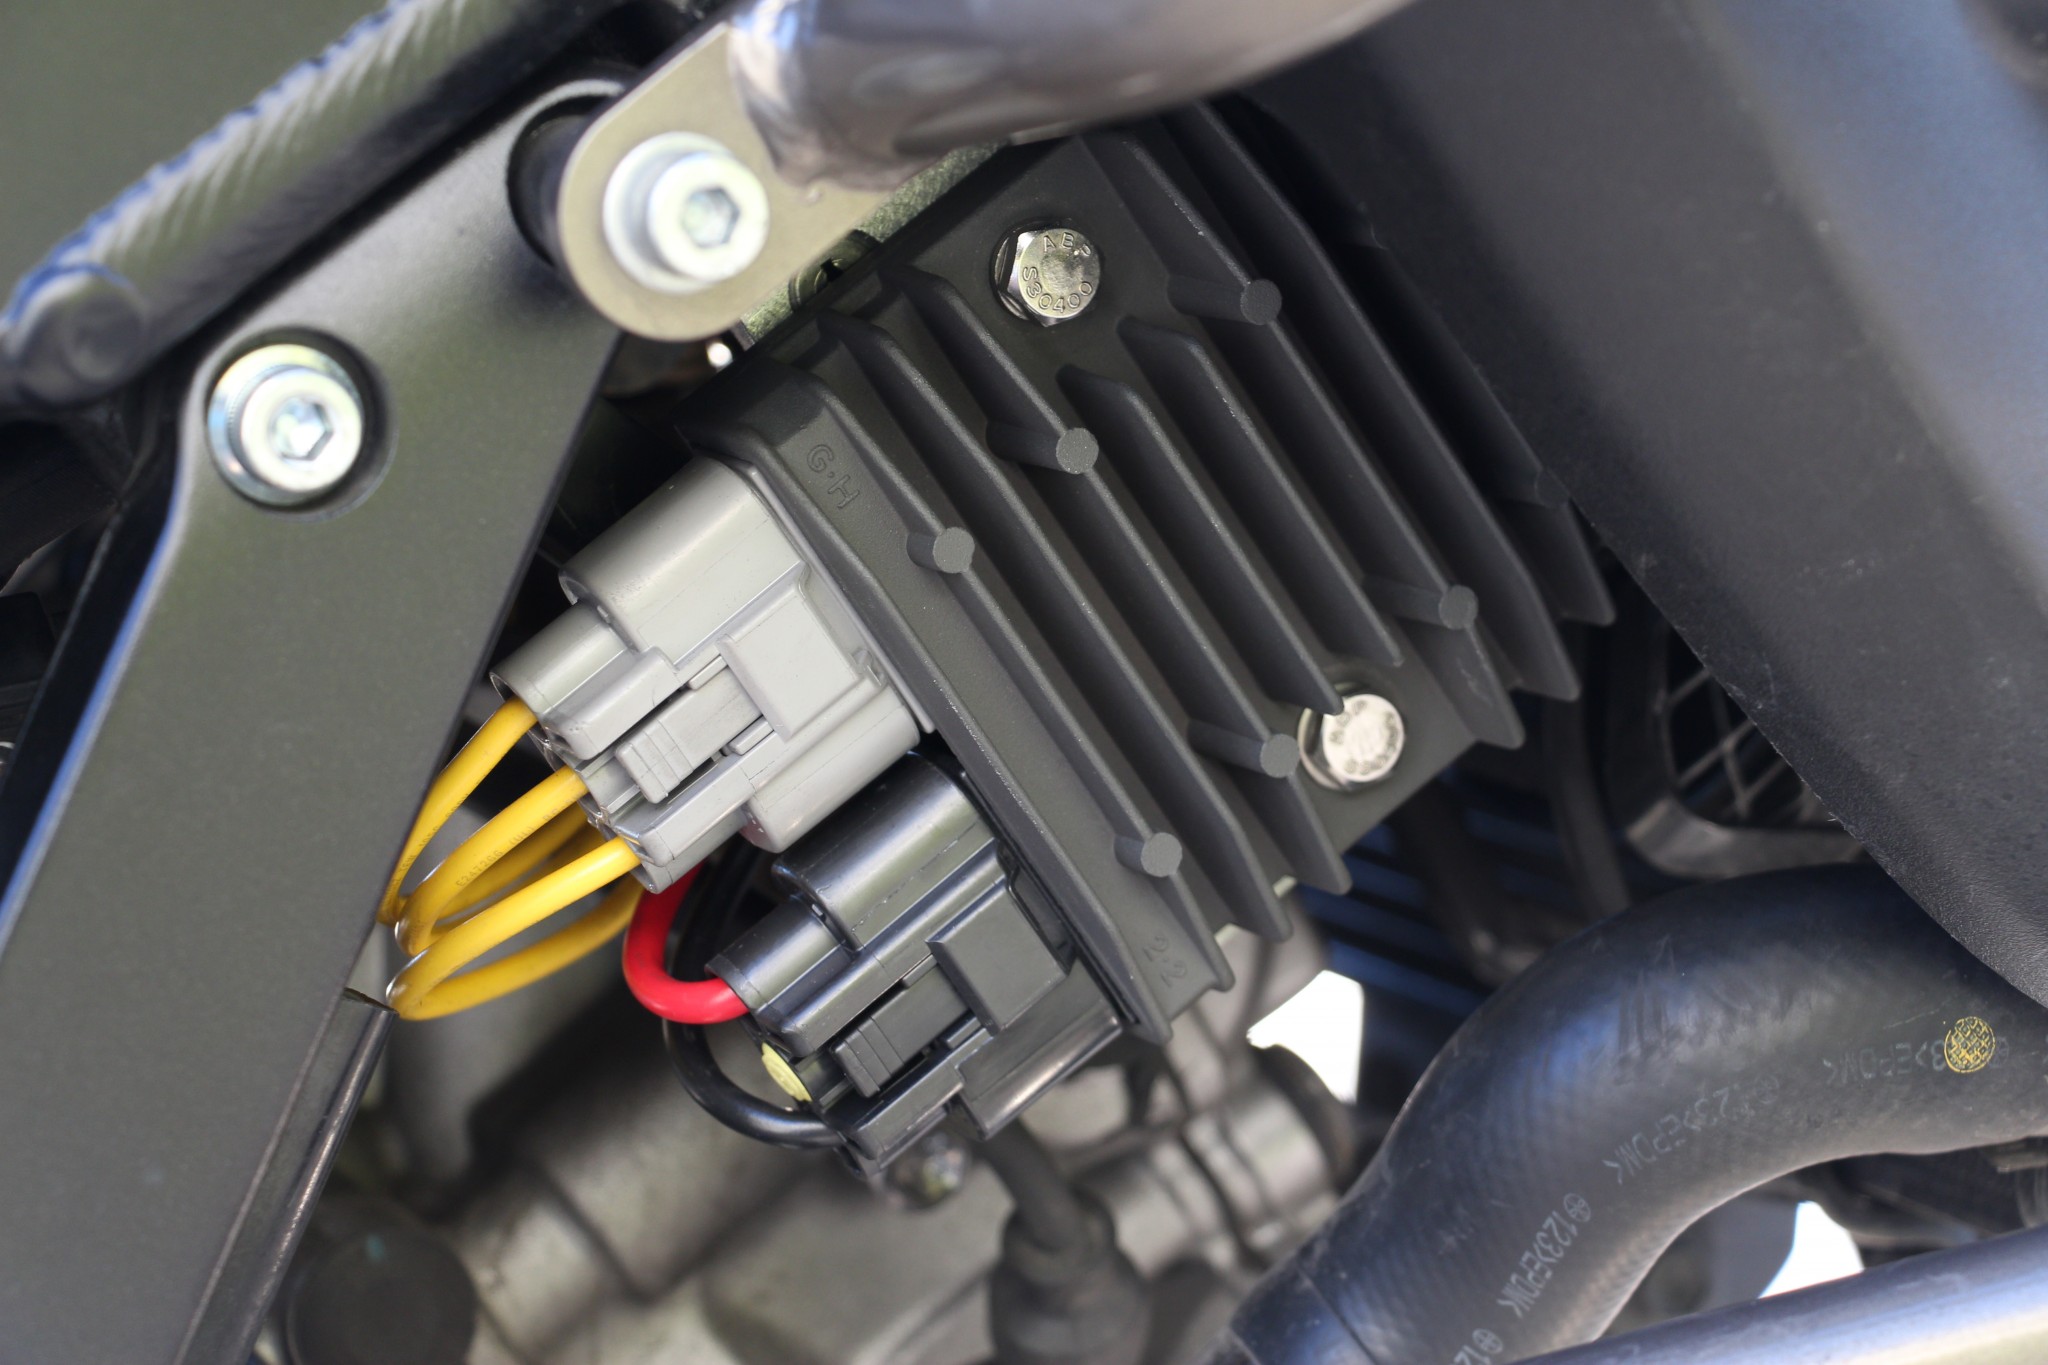
I unbolted my R/R (you can do this without removing anything from the bike) and hooked up my multimeter. The stator coils all had 70V A/C when the bike was on but they also were connected with ground (which means it’s definitely bad). I did the diode checks on the R/R from the service manual and they came out fine. So just the stator was bad.
Decisions and shopping
The OEM stator is apparently the best, so I ordered one, and the required gasket. I also decided to replace the R/R with a series type for good measure. I got the Super Series Kit from Roadstercycle with the universal mounting bracket.
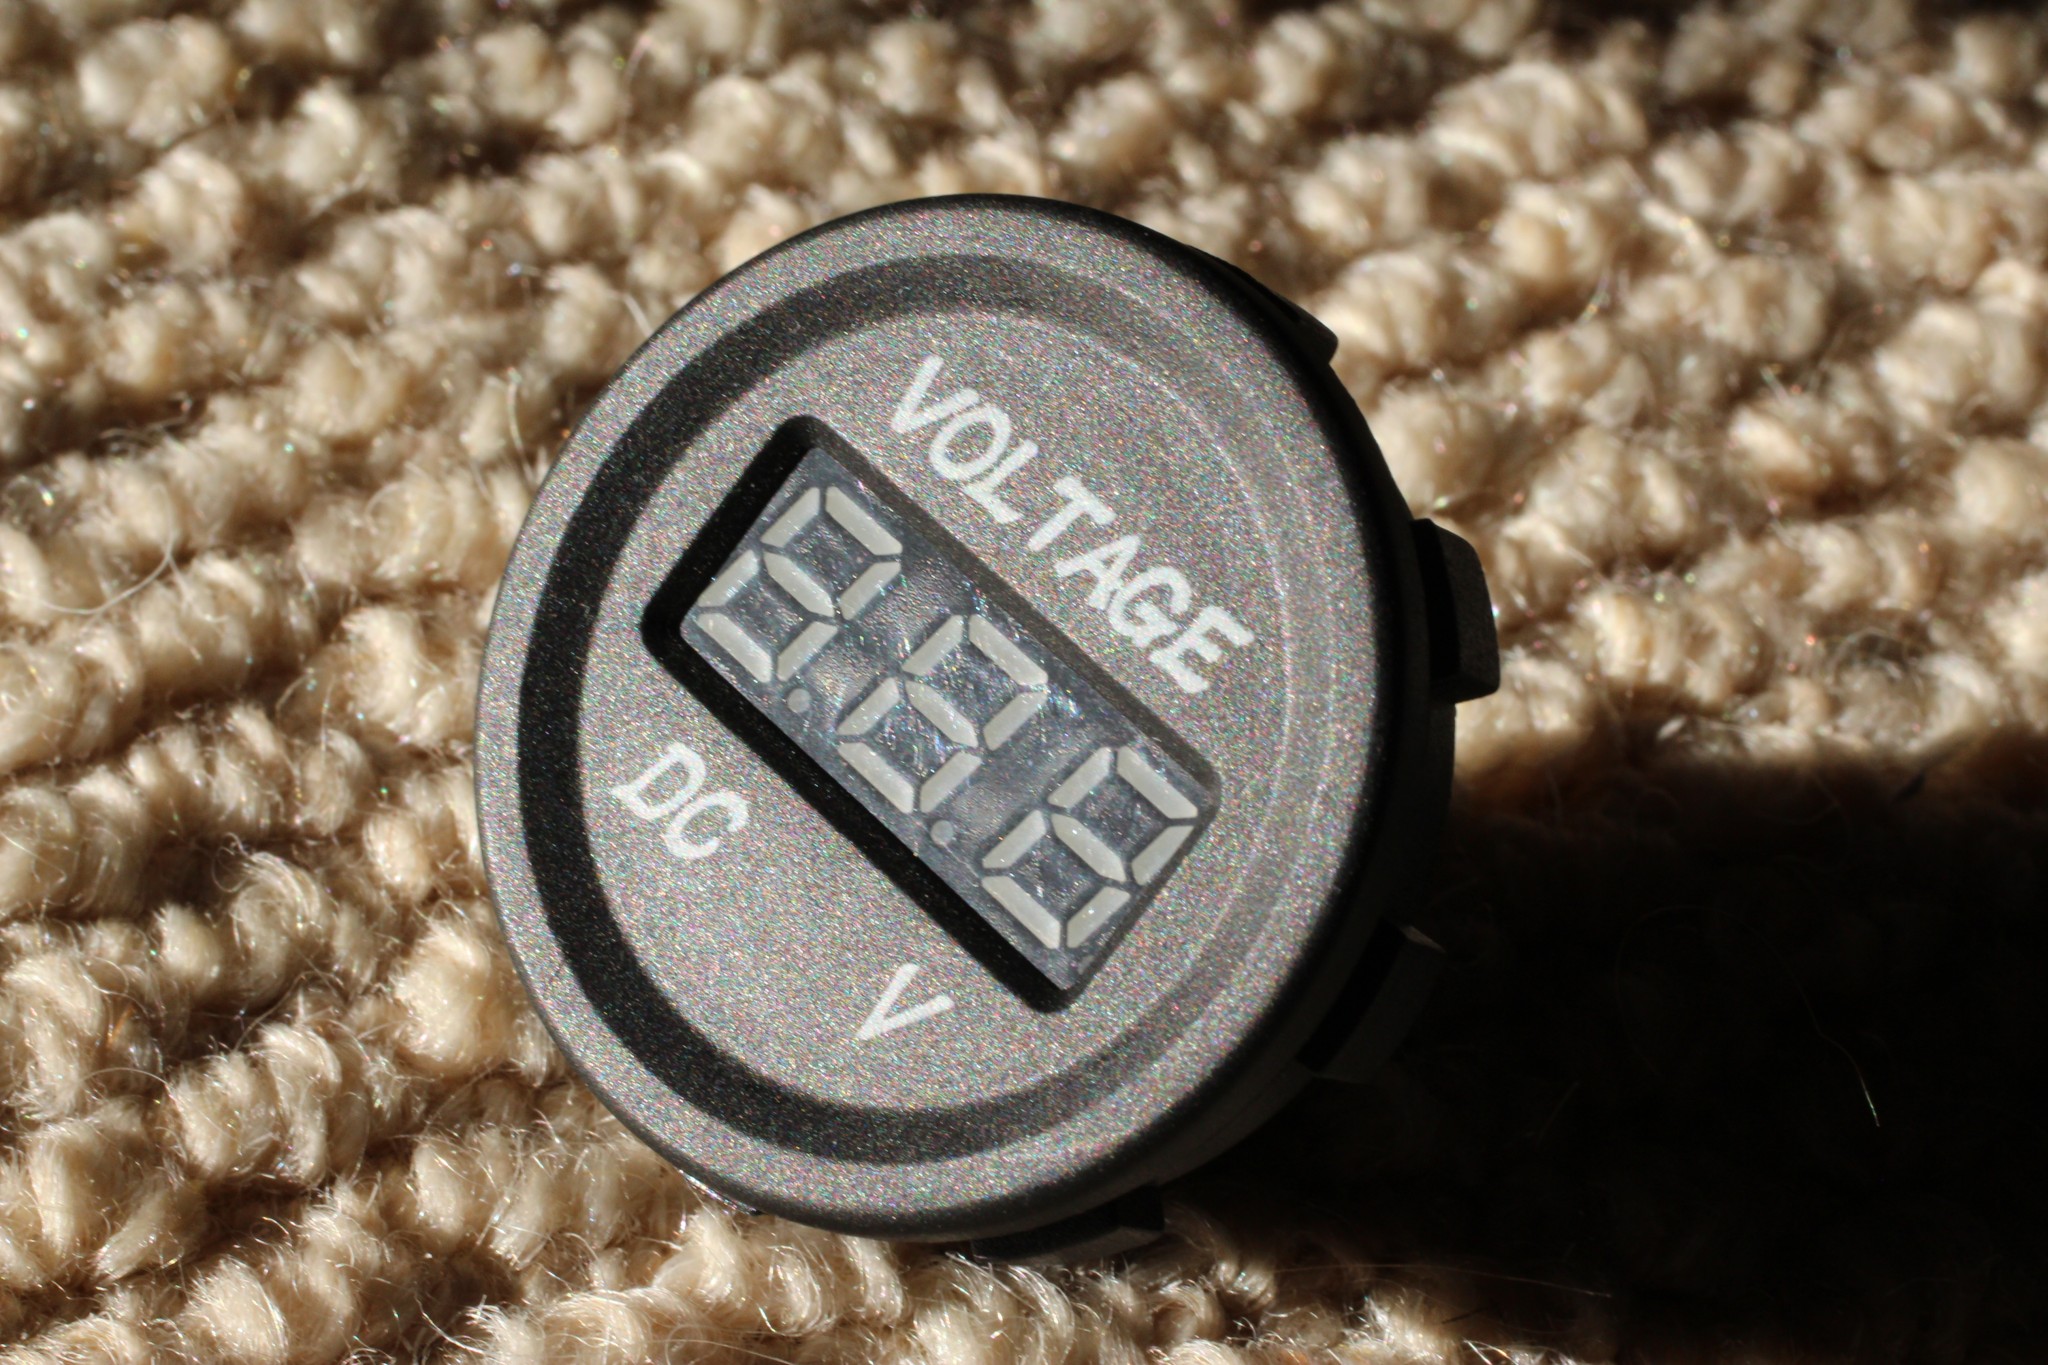
I also decided to install a voltmeter so I could see the voltage dropping well in advance of getting stranded should something like this happen again. I got a slick little LED digital round one and some cheapo hole saws from Amazon.
Installation and lessons learned
Phase 1: R/R replacement
I had never lifted the tank or the airbox before. I tried to figure out if I could do this job without lifting the airbox, but you can’t. The R/R wires are in a bolted wire clamp that simply cannot be accessed without removing the airbox. So I dug in. The tank came off pretty easily (you don’t need to empty it in my model!), exposing the airbox. I checked the filter (it was fine, had been replaced somewhat recently) and then unscrewed the first hose clamp going down to the cylinders. The sensors are kind of attached to the rubber and you an pull them to slide them off. The second hose clamp is very hard to get to. I struggled for a good long while trying to reach it before realizing that I had to take off the whole body cowling (headlights, dashboard, etc.). I had done this recently for my farkles so it wasn’t too hard to do, plus I needed it off to install the voltmeter. Once it was off, I could reach the stupid screw with a double-extended ratchet hooked up to a hex socket I happened to have. Then the airbox came right up. With the wires free, I fiddled with the positioning of the new R&R and was very pleased with the universal mounting plate from Roadstercycles. It’s perfect.
Phase 2: Crimping, drilling, etc.
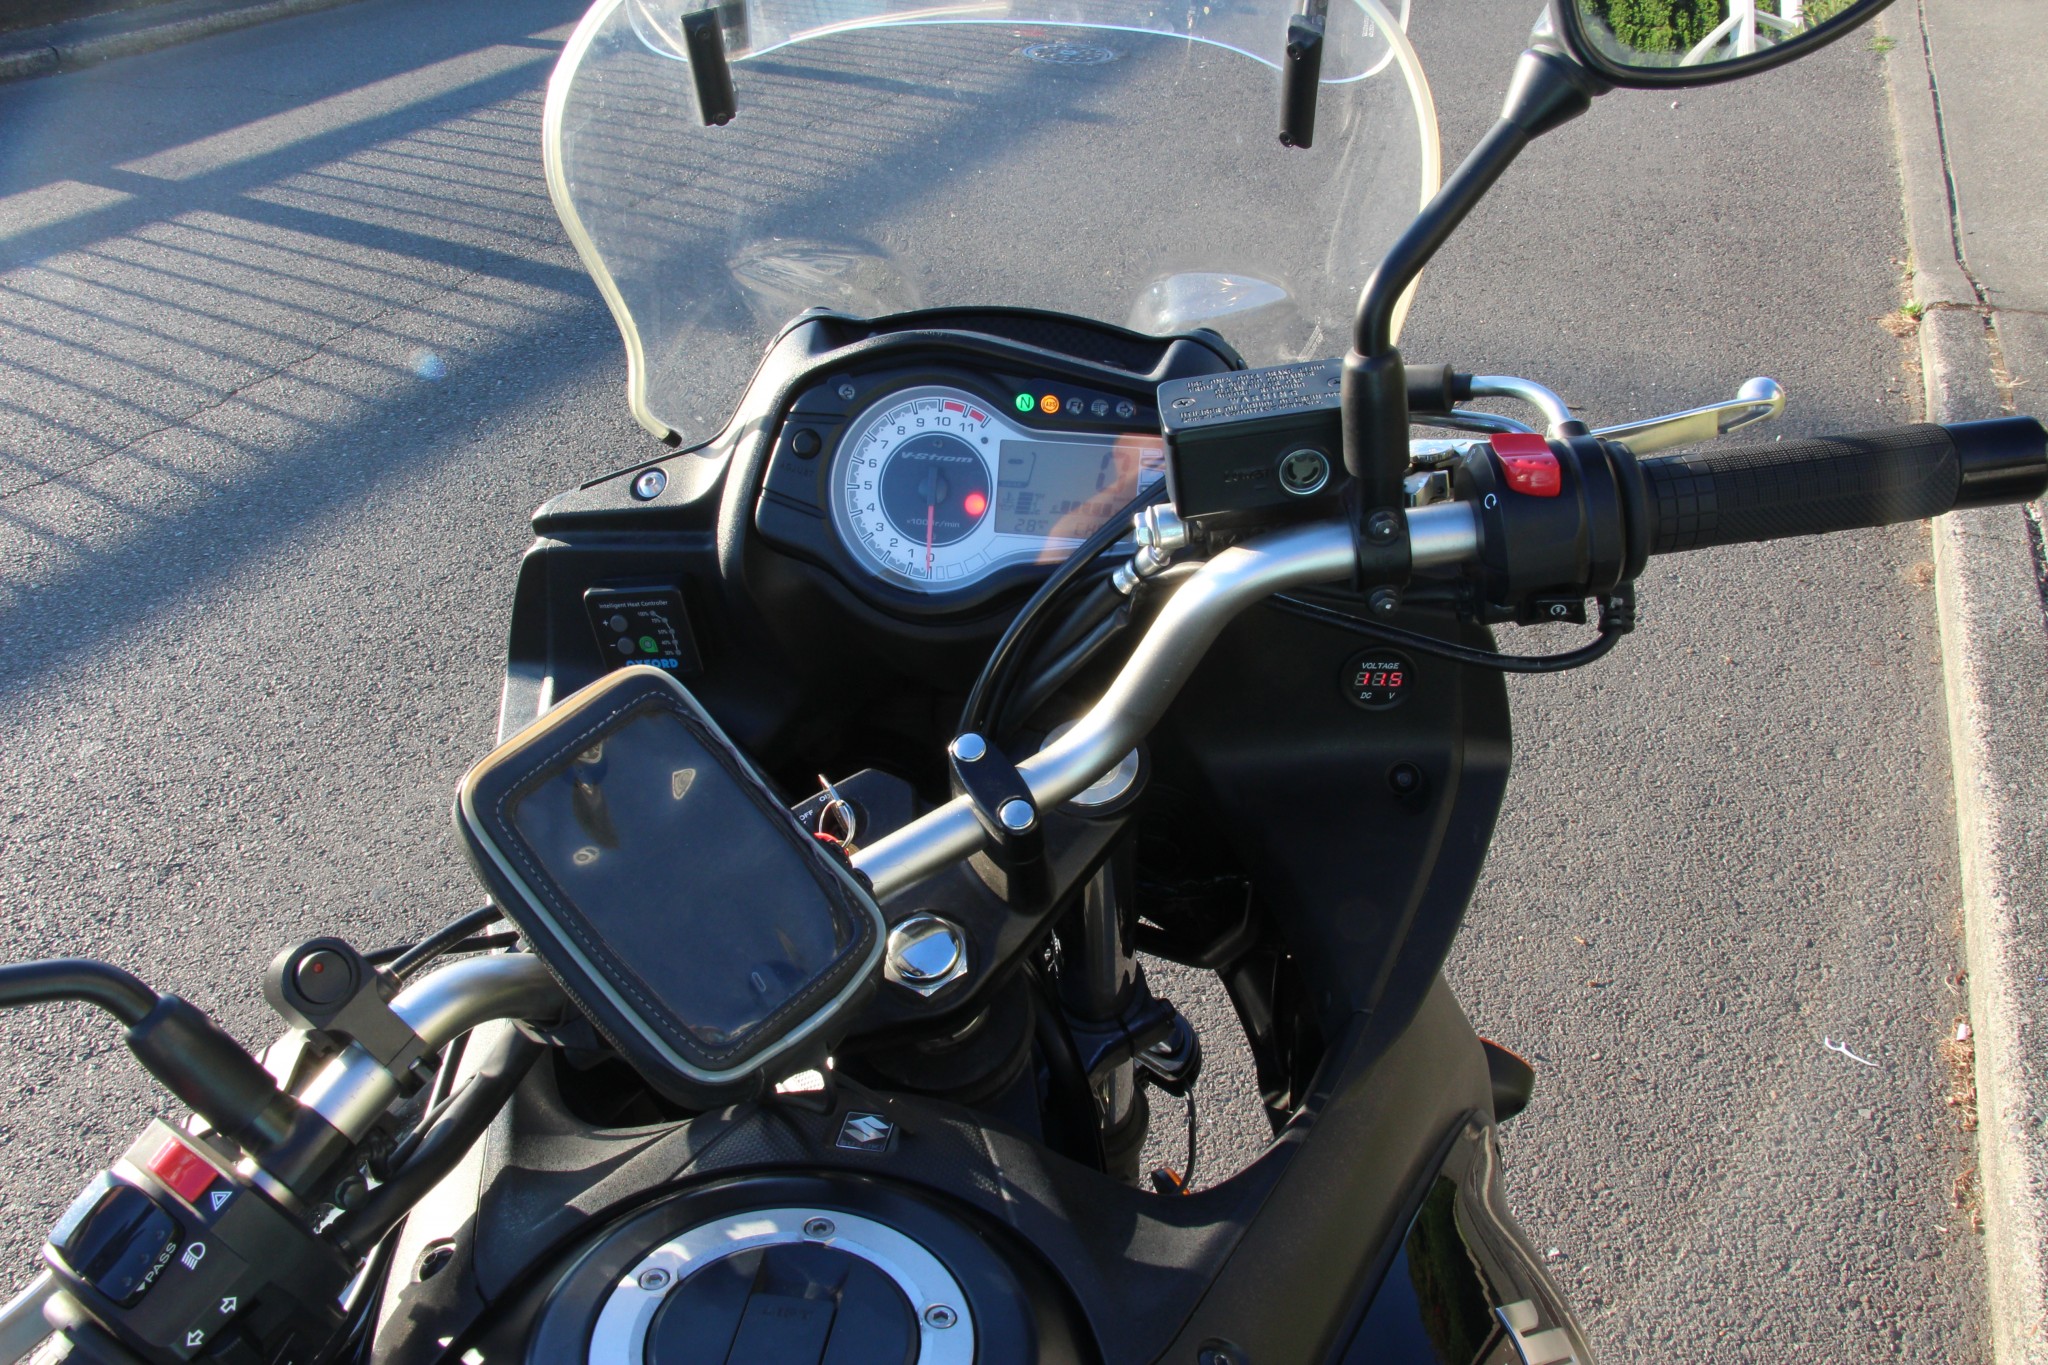
I decided where to put the voltmeter and used a 1-1/8″ hole saw to drill it out. It fits perfectly and looks pretty professional. I already had a wire coming out of the aux line by the headlights (for my LED aux lights relay) so I spliced two wires out of that so the voltmeter will only be on when the bike is on. I soldered them and then shrink-wrapped them.
I crimped the R/R kit to the new stator and fed the wires along the old ones. I taped off the old plug going back to the battery and just ran the kit’s wires directly to the battery. I was able to run all the wires through the original wire clamps and everything still fit fine.
Phase 3: Stator replacement
I probably did this out of order. At this point I had to drain my oil. I tried starting up (I had charged the battery) and it just cranked and cranked and showed a FI light! Ah! But after puzzling for a while I reconnected the green and white cable that also comes from the stator to the old harness (still installed) and it fired right up. This is the crankshaft position sensor and apparently the computer won’t start the bike without it. Whew!
So I drained the oil, removed the sprocket cover, pulled the clutch arm off, removed the speed sensor, unclamped the wires, and took out all the screws around the stator cover. I had to reach around the back of the right side and pull pretty hard but it came off. The gasket was stuck and ripped a few times so I had to razor-blade it a bit and use the tiny bit of gasket remover that would come out of my old container of it from 2009. I got it cleaned up. The stator was definitely burned out, right on top, where people said it happens. One of the coils was black. So, yay, the diagnostics worked. I popped it out and the new one in without much trouble. I cleaned it all out as best I could while I was at it.

I put some oil on the new gasket (hope that’s ok) and put it up. Then I had a heck of a time getting the stupid cover back on. There’s a magnet fighting against you and a few dowels to line up. The first shot was actually ok but I pulled it off because the clutch seemed really lose when I was putting it back together so I tore it back open and then had the darndest time getting it closed again. A little gear in the bottom left was wiggling around freely in there and I had to spin it a bit to get things lined back up. Once I bolted everything down and spun the clutch rod around a bit, I was able to get the proper clutch feel back and everything else went fine.
I filled ‘er back up with oil and fired it up and the voltmeter read 10.5V or whatever the battery had drained down to. Revved it up to 4500 rpm and it went right up to 13.2V, which is about as high as these series type regulators go. Woo-hoo! I’m back on the road.
All in, this took me probably like, psh, 8-9 full hours. Next time it would go much faster because I hmm’d and haw’d about a bunch of things along the way. Anyway it feels pretty good to have done. Hopefully it will last.
Hello,
I know this is an old post, but I am having the same issue and am replacing my stator and rectifier. I am to the point I am needing to unbolt the stator housing , but I am confused by the little clutch cable assembly up top. Do you just have to remove the clutch arm to remove the housing? Is there anything I need to worry about “popping out” when I pull the cover off? The whole clutch cable holding assembly is just confusing. It goes over the sprocket and I cant tell whats going to happen when I pull it off. Any information would be helpful!
Hello friend. Good luck with your project. Uh it’s been a while since I pulled that off but if I recall it’s just a little cover and nothing will pop out. I am 95% sure I did not have to remove my clutch arm. I think you can make clutch cable adjustments in there on simpler maintenance days.