I recently got a HackRF One software defined radio (SDR) to go along with my new Ham radio hobby. I’m new to all this, but one of the first things I noticed was that I was picking up a lot of radio frequency interference (RFI). I had purchased a RFI shield as part of the kit but had to install it myself. This post shows how I did it.
Opening the HackRF enclosure
The first challenge is opening the enclosure. To do this, first take the bolts and washers off of each of the SMA antenna connectors. Now, go in above one of the connectors with a little screwdriver (maybe put electrical tape over it) and start popping up the enclosure. Eventually you will pop it all up.
Installing the RF shield
Now we have to solder the RF shield onto the board. There’s a dotted line that shows where it goes.
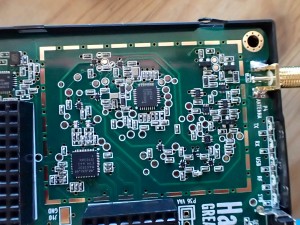
Note that the crossbraces of the shield bracket go up and the toothed edge of the bracket goes down (they fit onto the “dotted line”). Place the bracket on the line and start the soldering process.
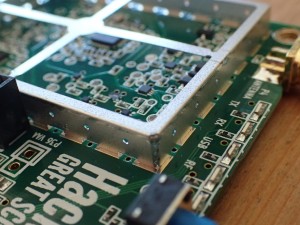
I had my soldering iron at about 600F and just put a few dabs of solder on the corner and wiggled it around until I had it placed about right. Then work yourself around and dabble some solder on the teeth.
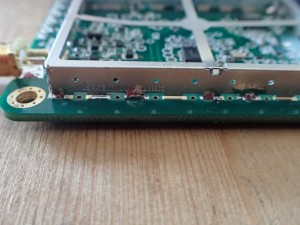
When you’re done, snap the actual shield onto the bracket. You’ll soon find that the stock enclosure has a two plastic tabs that hit the shield and prevent it from closing back up.
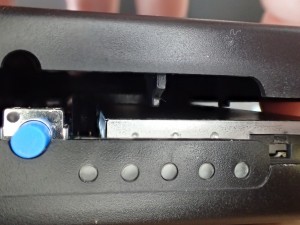
No problem. Just take some big wire cutters and snap them about in half.
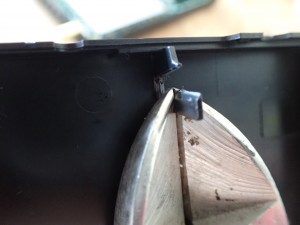
And that’s it! Snap everything back together and you’ll be a little more shielded from RFI.
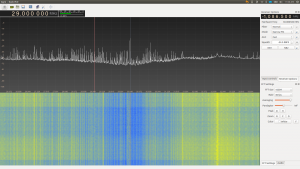
Before I snapped the shield on, I did fire up GQRX to see if I could see a noticeable difference from the shield. I went down to the 20m ham band where I have zillions of ethernet-cable birdies. I set the shield on the bracket and took it off a few times and you can see the effect in the waterfall display. So it definitely reduces noise a little. Cool.
BTW, there’s more info on doing this (plus a heat sink) here.